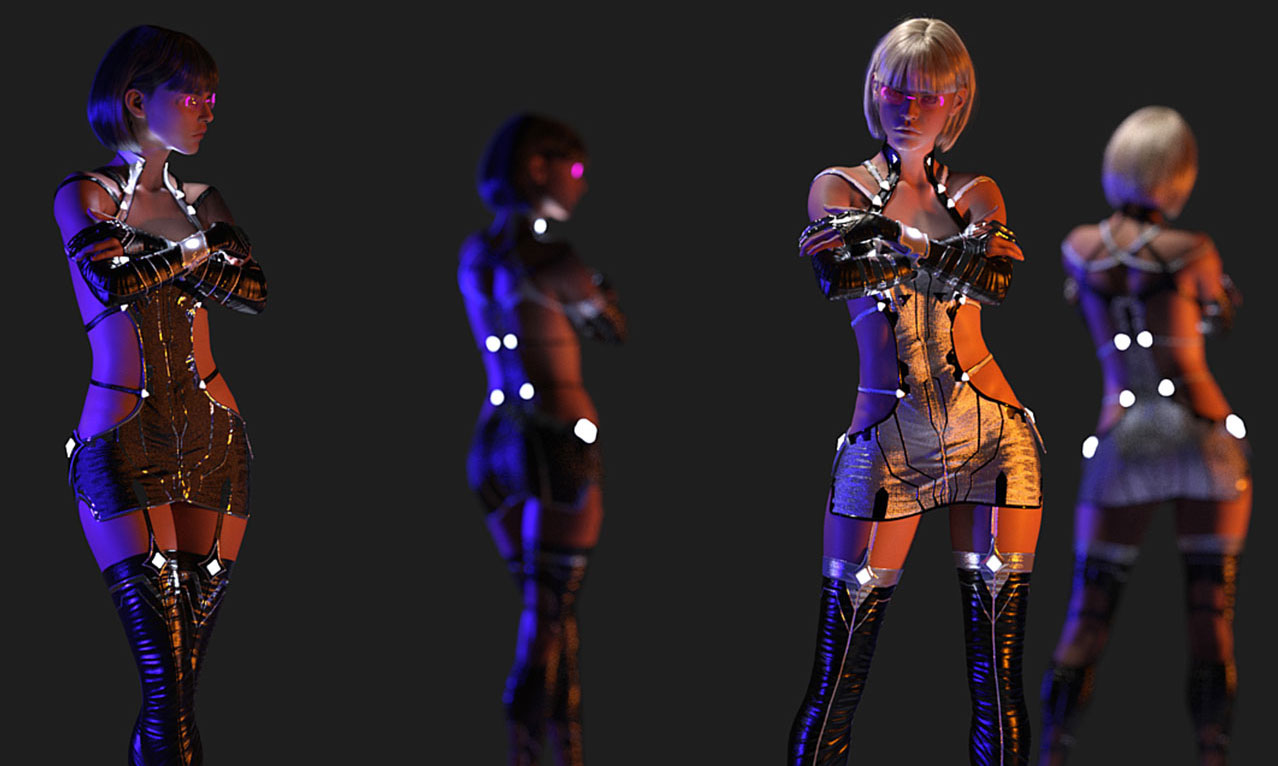
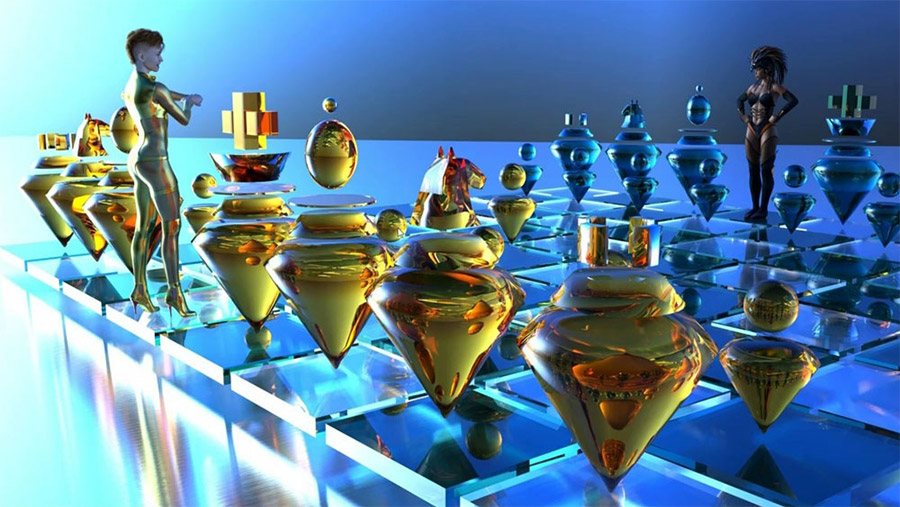
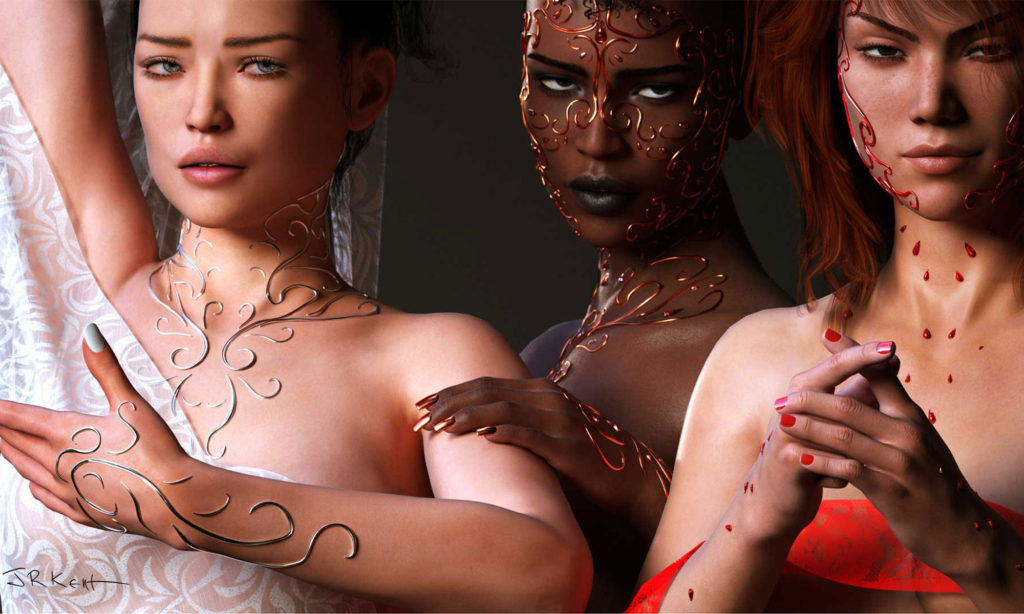
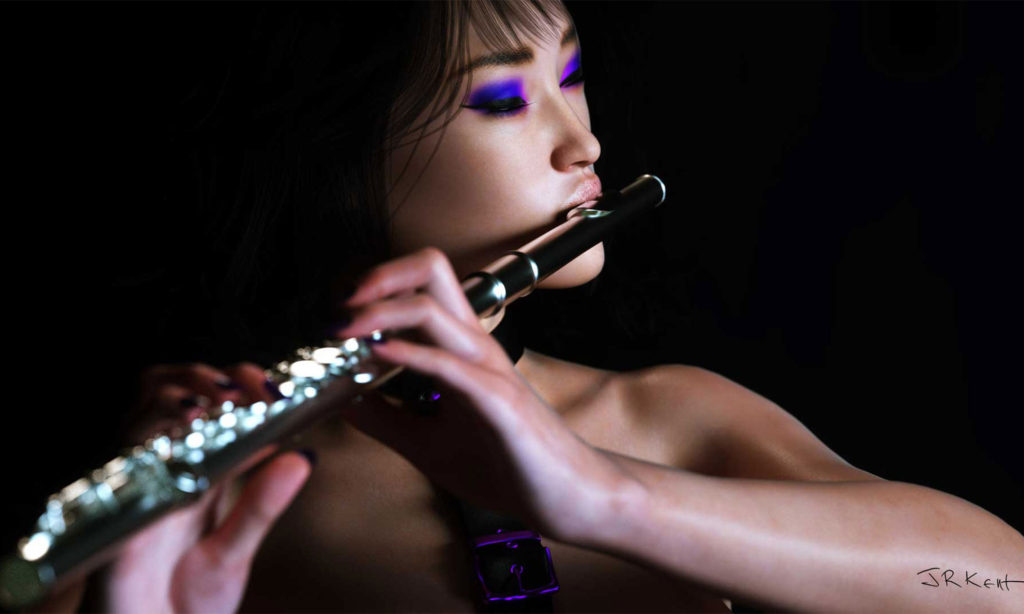
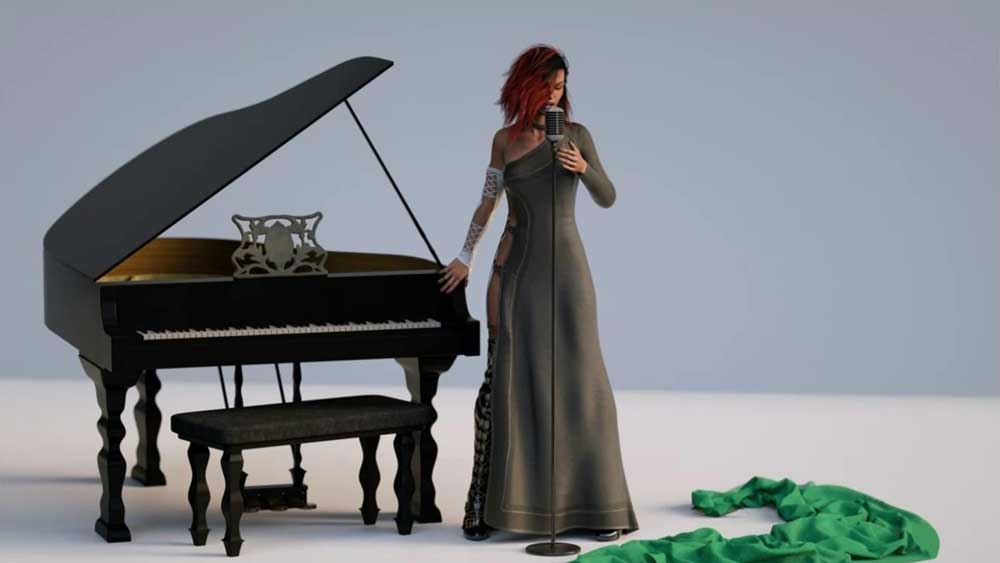
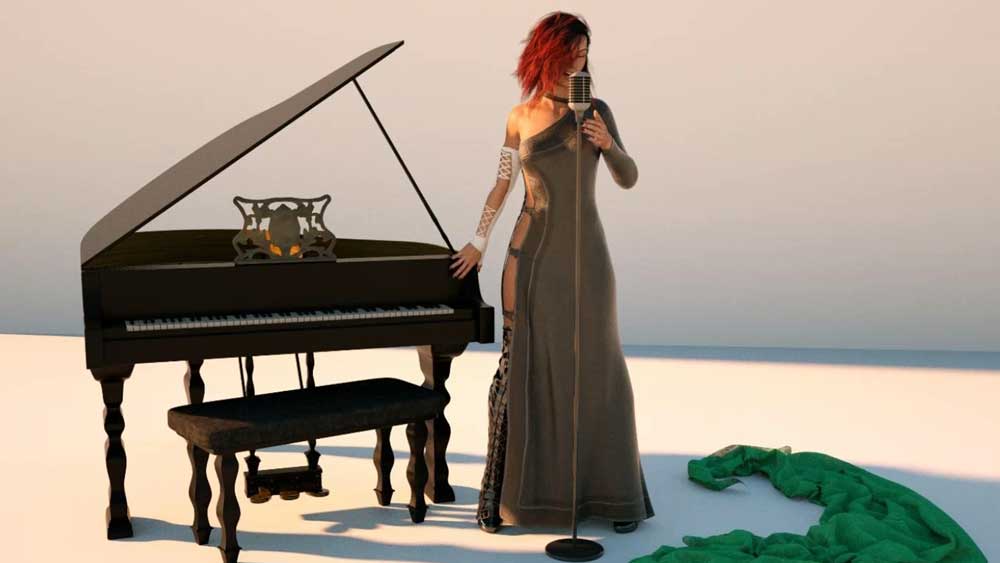
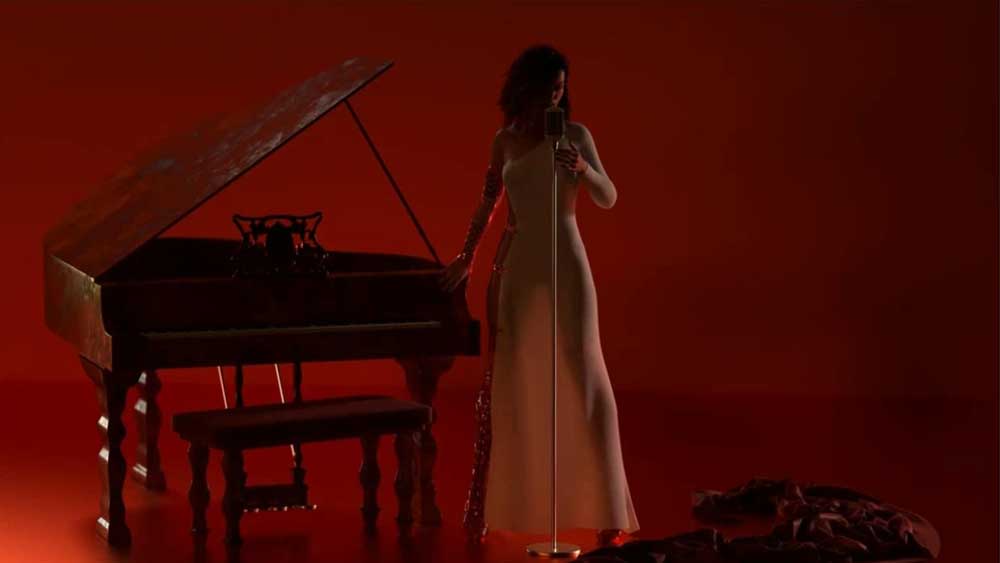
We’re pleased to bring you our next tutorial… Fueling Your Renders with Octane. This is a two part tutorial that will be sold as a single item on Daz3D.com and will run about 120 minutes total. John Kent, who has been a Daz Studio Octane plugin user and real-world photographer, takes the student from simple to more and more complex scenes cohesively building on previous knowledge.
If you are an artist looking for photorealism, this is the tutorial for you!
For those of you that are unaware, the Daz Studio Octane plugin is a unique and powerful render plugin that is used by many of the major players in the entertainment industry because its ability to work within a variety of platforms that include Cinema 4D®, 3ds Max®, AutoCAD®, Blender® and Lightwave® to name just a few.
Octane, created and sold through Otoy, has been used to create many of the graphics that appear in acclaimed tv shows and series and one only needs visit Otoy’s homepage to see a variety of examples.
The strength of Octane is the ease with which it mimics real-world photographic and cinematic terminology, which means that anyone that understand these real-world disciplines can easily utilize their knowledge to make use of Octane to create very realistic renders. This, coupled with the massive photorealistic texture library that is available to anyone with the plugin, creates one of the best render engines on the market.
John Kent has been using the Daz Octane plugin since he began rendering in Daz Studio and he walks the newcomer to this powerful tool through installation, configuring and creating a photorealistic render. Each step is building on the previous.
He starts by opening a single scene in Daz Studio and then by making changes mostly in Octane. He demonstrates how the user can see changes, virtually immediately.
He starts with an Out of the Box render, without any changes for a baseline for comparison.
Then, we add an HDRI image for lighting and adjust the angle of the sun in real time, as well as adding an Octane camera, also making adjustments to the camera, just as a real-world photographer would.
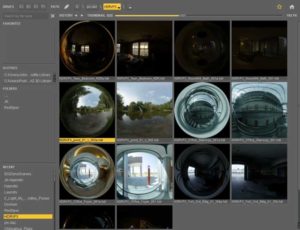
Then we examine the massive photorealistic material library that comes with Octane, its real strength. In a few short moments, we’ve transformed the Daz scene into something completely different from what the Out of the Box render looked like.
Next, we add a couple of primitive spheres in the Daz scene to act as emissive light sources in Octane, and here it’s worth pointing out that these are the ONLY changes that we make to the Daz scene actually IN Daz.
Tweaking the lights, refining the intensity, position, colour… as John says, “lighting can make or break a scene. You’ll either believe it’s real, or not.”
At this point, we’ve replaced the Daz Vendor supplied materials. It’s at this point that we bring them back. Starting with a simple explanation of node editing and then building on it, piece by piece. What ends up looking like a spaghetti map, is totally legible, but better: logical. The viewer will understand why and how John adapted the nodes and maps. And, he modifies the hem of the dress to make it appear more ragged or torn, in Octane!
To finish up, we cover post processing in Octane. Lighting tweaks, special effects, twinkles, the possibilities are endless.
So, if you want your renders to look more photorealistic, we recommend checking out Otoy’s Daz Octane plugin tutorial coming soon and here’s a teaser to whet your appetite. Enjoy!
