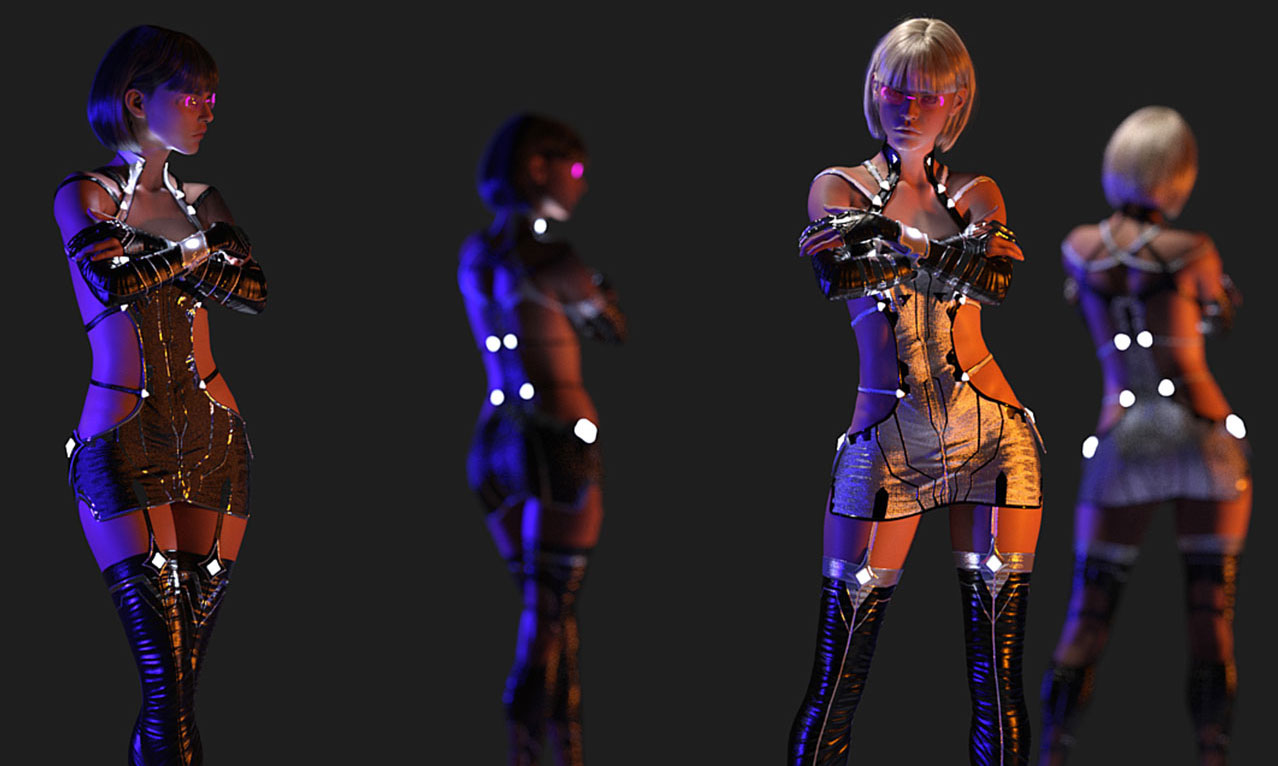
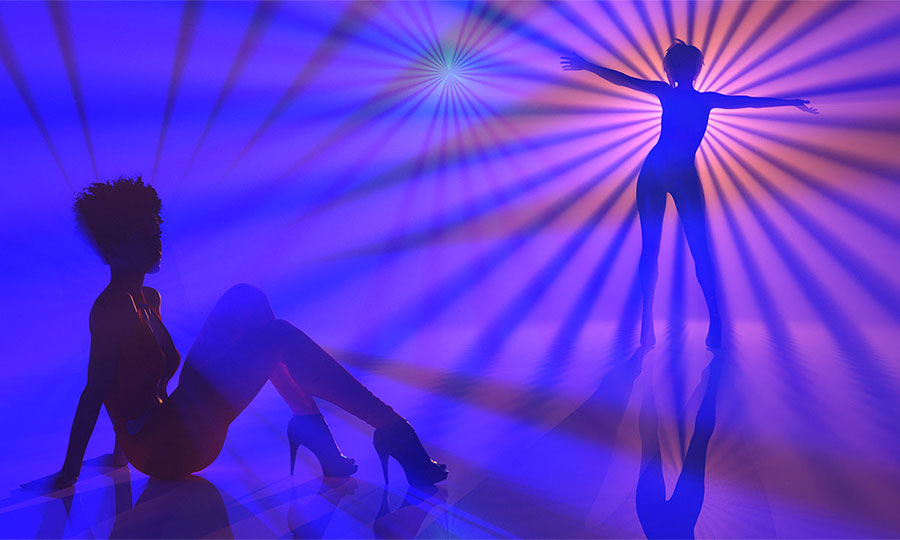
Have you ever rendered a scene in Daz Studio and wondered where the light’s coming from? How to control it? Make it brighter or darker? Moody, sultry, full of action, emotes feeling? Of course you have. That’s the reason most of us are creating digital artwork!
Once we have the pose right, the scene set, the characters in place, clothed, makeup applied, hair coiffed just so, sultry expression, it’s time to bring the scene to life, and you can’t do that without light and — a key ingredient in John’s technique — shadows. Light focusses our attention on the key shapes in a scene – such as sensuous curves — and shadows give definition and depth. Without good lighting your renders will be flat, unappealing or worse, the same default lighting used by Daz beginners.
Working exclusively with the Iray Render Engine, we use real world lighting techniques, in terms of terminology and the types of lights we put into our scenes: softboxes, reflectors, color temperature, high-key, low-key, studio portraiture, bodyscaping, Rembrandt lighting, using a mirror as a backdrop, god rays, haze, what the rules are and when to break them. John expertly takes you through examples of these kinds of lighting and more. John creates the renders using only Daz Studio and freely downloadable lighting resources (such as HDRI files). You won’t need to use third party software such as Photoshop.
Did you know that there are two separate f-stop parameters in different parts of the Daz Studio interface, one that controls depth of field, and one that controls scene brightness? John clearly explains these and the other parts of Daz Studio that make lighting confusing, highlighting the key parameters that actually make a big difference to a scene.
Painting with light is an artistic skill that the movie industry has long recognized as key to creating mood and feeling. Understanding the settings and how and when to use them will help you to create more photorealistic renders without the frustration of adding light after light to a scene without knowing in advance what they will actually achieve. After getting to grips with digital lighting mechanisms and the relevant Daz controls, John describes several rules that help you avoid common lighting errors, such as boring ‘flat’ light and shadows that go in impossible directions. Crucially, John explains when to break the rules, and shows how lighting techniques that looks terrible in some scenes can make others pop with energy.
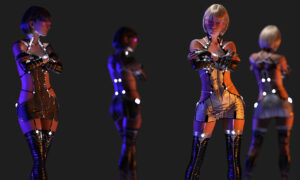
Note: Although this product is available by single episodes, we highly recommend purchasing the bundle, because each episode builds on information from the previous, and for time considerations, is not repeated in every episode.
Bonus for Bundle purchasers: We have included the custom IES Profiles that are demonstrated in Episode 4 and 5.
All in all, over 8 hours worth of content that will leave no question in your mind about how to light whatever scene you have in your imagination.
Each episode is professionally edited, sound balanced, and closed captioned for ease of search and all include a PDF index of key points for ease of reference.
Part 1 – Using Daz Default lighting Efficiently (1 hour 35 minutes)
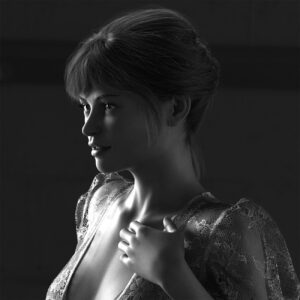
Ever wonder where the light is coming from even when you haven’t added any lights to a scene? Daz opens with a default HDRI image… an image that can be changed, swapped, moved, turned on, turned off, made brighter, made darker, made to represent a particular place on the planet at a particular time. HDR is a very sophisticated lighting tool, once you understand it.
There are a lot of settings for you to work with to make “Dome” lighting – the Daz term for HDRI lighting – work well and efficiently, not to mention customizing your interface for the maximum effect of painting with light. John explains each setting and demonstrates different HDRI files and, using a single model, shows the different lighting effects that you can achieve without adding a single light to your scene.
In fact, it’s so efficient, that all the final renders you see in the promotional images are the same model, in the same cloths, in the same position, with the same camera angle and only the HDRI map was changed and tweaked slightly.
Part 2 – Making a Scene with Scene Lights (1 hour 29 minutes)
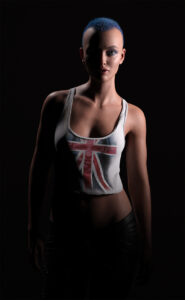
Key light, Rim light, Fill light. We’ve probably all heard these terms, but what are they supposed to do, and what do the names mean? John works through all of the Daz scene lights (spotlights, point lights and distant lights), explaining when and why to use them, and their various strengths and weaknesses. Drawing on John’s real world experience of shooting models in the studio, he takes us through the procedure of setting up the lights for the best possible picture. Incidentally, John has an interesting take on adding light to a scene: if you can’t think of a descriptive name for a light, then you don’t know what effect it will have on your scene.
In this episode there are a lot of settings to cover, but John highlights the key parameters that will turn your scene into a believable photorealistic render. Again, John sticks with a single model to demonstrate how the lights work, so that we don’t get distracted by the details of the scenes.
Part 3 – Controlling Studio Lights (1 hour 45 minutes)
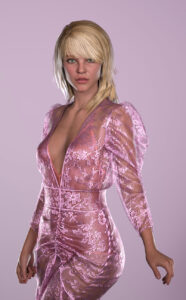
Shooting in a studio, especially a virtual studio, affords the artist some incredible freedom. Back drops can be placed so far away that no lights hit them at all. Floors can be huge, in relation to the size of the studio. In the real world, we are limited by the physical size of the studio so the photographer must rely on tricks to get the look that they’re going for.
In this episode, John builds on all that we’ve learned so far to demonstrate how Dome and Scene lighting can be used to create very different scenes and very different types of lighting: full body in motion, portraiture, high key lighting, ‘Rembrandt’ lighting (a well-known arrangement of key, rim and fill) and using a mirror to see both the front and the back of your model at the same time. The mirror is especially interesting because it reflect not just the models, but also the HDRI that we’re using, so John explains the special tricks to prevent incoming HDRI light from being reflected.
Part 4 – Interior Lighting (1 hour 37 minutes)
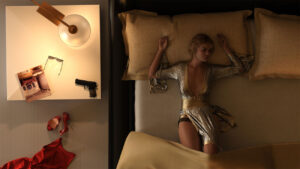
Next we move indoors. Creating an indoor scene inside has a whole new set of challenges, mostly in the way of working with (or getting rid) of the walls. Sometimes, depending on the model, it’s as easy as turning off the roof and the four walls, but in many more models, that’s not possible because it’s been built as a single object. What to do then? John has the answer – and explains how to use simple but little-known Daz tools to get HDRI light inside a room. You have to see this in action to believe how easy it actually is.
John creates four very different lighting looks, each with its own unique challenges: Sun streaming through a window to create a pattern of window pane shadows, a harshly lit hotel room, contrasting colours and sci-fi lighting. John introduces a key new technique in this episode – the use of IES profiles so that artificial lights in a scene (wall lamps, table lamps, etc) make realistic patterns of light on walls and floors. These might seem like small details, but they help you go the extra mile with photorealism.
And In what we believe is a first, John creates a concentric ring of lights – like a bullseye – using IES profiles that we include with the tutorial as a bonus.
Part 5 – Atmospheric/Volumetric Lighting (1 hours and 43 minutes)
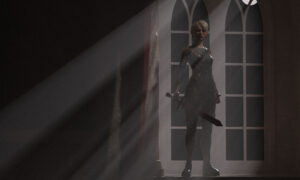
This tutorial focuses on atmospheric and volumetric lighting. In other words, lighting using interference in the air. John demonstrates that in three simple, easy to follow steps, you can add the eternal ‘God Rays’ to any scene you wish.
We start with a sunset, perhaps in southern Italy and adjust the density of the air to simulate the dust that would be in the air… but we don’t stop there.
Atmospherics have so much more uses. How about combining IES Profiles with a smaller object, an object actually IN the scene to create the illusion of a force field?
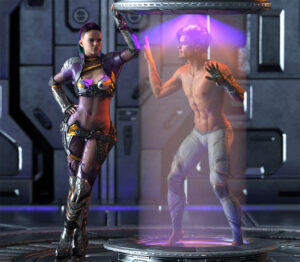
The sun streaming through a window into a dusty church illuminates a knight, pondering her quest. These are light painting tricks that the movie industry has been using since they discovered that smoke made lighting look better… all lighting… so why wouldn’t we take advantage of the same trick in digital art.
We even show you how to create a laser effect… another first!
Need more convincing, watch our tutorial teaser where we take just a few frames from each tutorial and role them into this minute long teaser and don’t forget to subscribe to us on YouTube!
